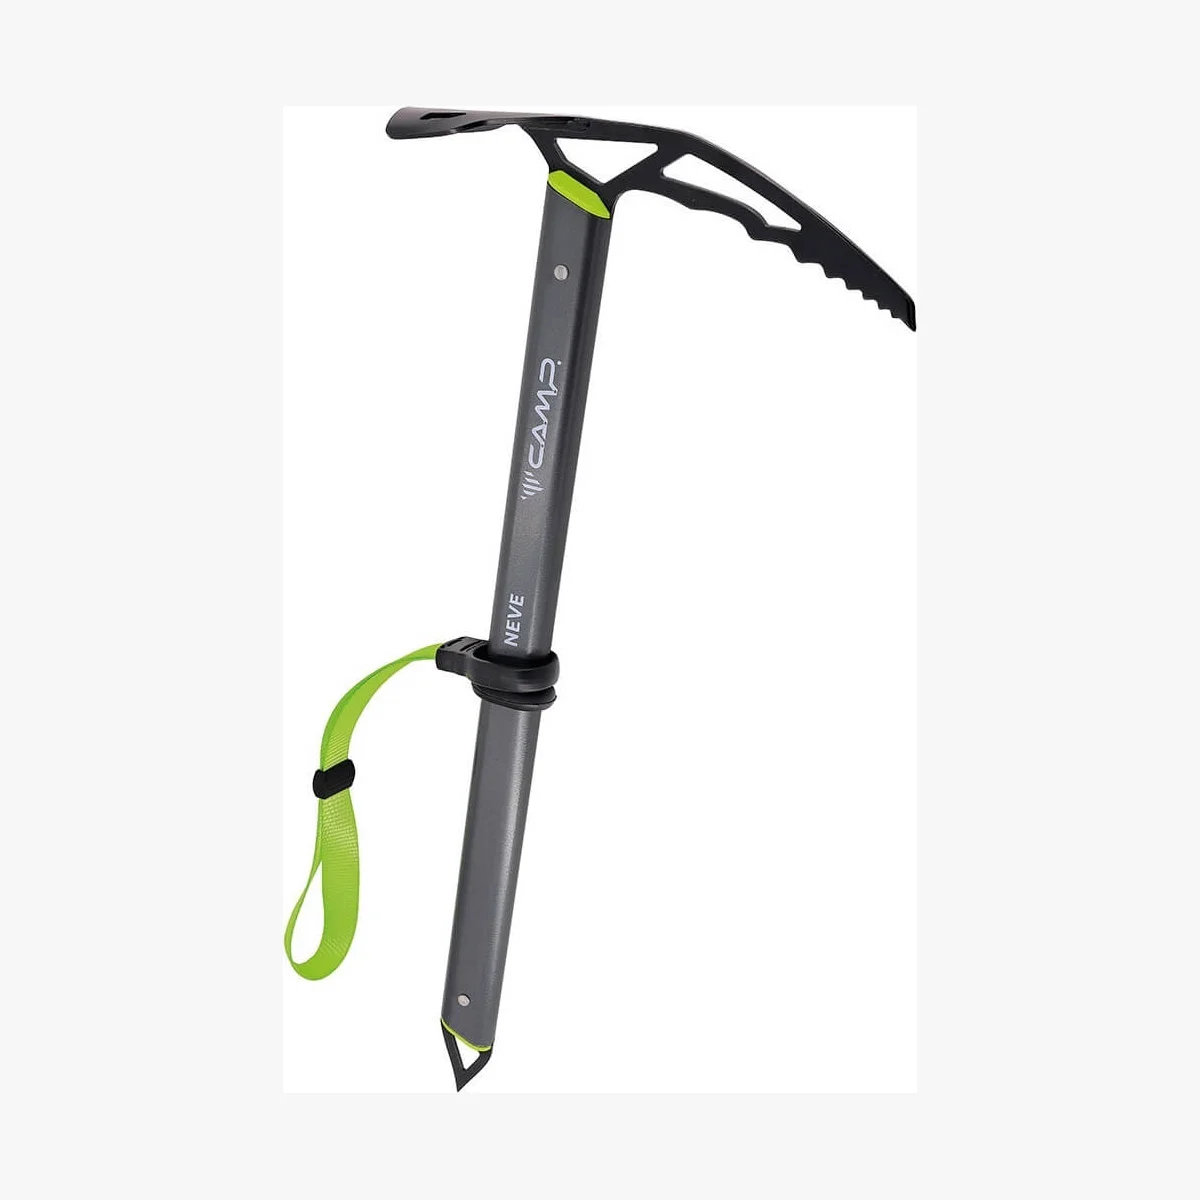
Rent a CAMP Neve ice axe for Mount Elbrus
Technical equipment is selected and checked with the guide’s system in mind.
$3.00 / day
The CAMP Neve 3120 is a classic mountaineering ice axe for route plans that specify this type of tool. Its safety value depends on correct length, sound condition, compatible handwear and trained use.
Daily rental in Terskol. Add the item to the Mount Elbrus calculator, then send your dates and size where applicable so we can confirm availability.
Pickup in Terskol · sizes and deposit confirmed before collection
Price checked on 2026-09-12. A rental team member confirms the exact model, size or set contents and availability for your dates.
CAMP Neve ice axe rental for Elbrus: what to know
The guide decides when the ice axe replaces trekking poles and teaches the movement and self-arrest techniques required for the route. Choose a length appropriate to the intended use rather than treating every axe as interchangeable.
How to choose a CAMP Neve ice axe
- Confirm the required axe style and length with the guide.
- Hold it while wearing summit gloves and check the grip and leash arrangement.
- Make sure it can be secured to the backpack without exposing sharp points.
What to check before you rent
- Inspect the pick, adze, spike, shaft and any leash or attachment.
- Protect sharp parts during transport and around other people.
- Complete practical training before the summit attempt.
How to choose, carry and inspect a CAMP Neve ice axe
The CAMP Neve, reference 3120, is a classic mountaineering axe available to rent for Mount Elbrus, not a technical ice-climbing tool. CAMP specifies a forged chromoly-steel pick and adze, a steel spike, carabiner holes in the head and spike, and a touring leash. The correct length and leash arrangement still depend on the user, route, conditions, technique and the leader’s system.
Confirm that a classic axe is the required tool
Do not substitute a trekking pole, technical ice tool or ice screw because the names or photographs appear related. An axe may support movement and, with learned technique, form part of a self-arrest response; an ice screw is protection hardware for a defined system. The responsible guide or instructor determines which equipment is required for the planned terrain.
Choose length for the intended use
Standing height is only a starting point, not a complete sizing rule. Boot sole thickness, arm length, pack, slope angle and the way the axe will be carried or used all affect the choice. Hold the axe as instructed and assess where the spike sits relative to the boot and ground. An excessively long shaft can be awkward on steeper terrain, while an excessively short one may be less convenient for support on gentler ground. Confirm the final length with the leader’s method.
Verify the actual issued item
Check that the item is the expected CAMP Neve model and read its reference, length and visible markings. Compare it with the issue document rather than relying on color. If the markings are missing or the configuration differs from the booking, ask before accepting it. Manufacturer instructions for the exact model govern its limitations and inspection.
Inspect the head, pick and adze
Under good light, examine the pick, adze and their connection to the shaft. Look for cracks, substantial deformation, deep gouges, severe corrosion, loose movement or burrs that could damage gloves and other equipment. Identify every sharp area before handling the axe in a busy shop. Do not test the pick with a finger and do not sharpen, file or reshape rental metalwork.
Inspect the shaft and spike
Sight along the shaft from more than one direction and check for bends, cracks, dents or other impact damage. Inspect the steel spike and both carabiner holes for deformation, sharp damage and contamination. The head and spike must feel securely connected to the shaft. A significant fall, impact or use beyond the intended system must be reported even if the axe still looks normal.
Check grip with the actual handwear
Handle the axe in the gloves or mitts intended for the mountain, not only with bare hands. Confirm that the grip is controlled without removing warm handwear and that the chosen length does not conflict with boots or pack. This is a compatibility check, not proof that the user has the technique required in a fall.
Confirm the leash only when required
If the touring leash is issued, inspect its webbing, stitching, adjustment and attachment. The decision to use it, the attachment point and the circumstances for detaching it must follow the leader’s system. A leash can retain the tool but can also create hazards in some terrain; it is not an automatic solution for every slope.
Practice before the mountain
With qualified supervision in a suitable controlled area, learn the required grip, change of hand, carrying position and self-arrest response using the actual axe and handwear. Merely possessing an axe does not create reliable reflexes, compensate for unsuitable conditions or make a route safe.
Protect sharp parts in transport
Cover the pick, adze and spike where appropriate and attach the axe to the backpack so it cannot injure a person, snag loose equipment, cut fabric or damage luggage. Do not leave it loose in a vehicle or bag. Remove transport protection only when required by the group procedure.
Collection checklist
- confirm model, reference, length and visible markings;
- inspect pick, adze, head, shaft, spike and carabiner holes;
- check control in the actual gloves or mitts;
- inspect the leash if it is part of the issue;
- record existing marks, corrosion or impact damage;
- match the axe to the issue document and return procedure.
Quarantine a changed or uncertain axe
Stop using an axe that develops movement at the head or spike, shaft damage, a loose attachment or any unfamiliar fault. Keep it separate, report what happened to the leader and Rock’N’Rent, and do not attempt a repair. Rental provides equipment for inspection and fitting; it does not replace technical instruction, current route judgment or the decision to turn back.
Reading about self-arrest is not training. Use an ice axe only after hands-on instruction from a competent guide.
Equipment commonly considered with this item
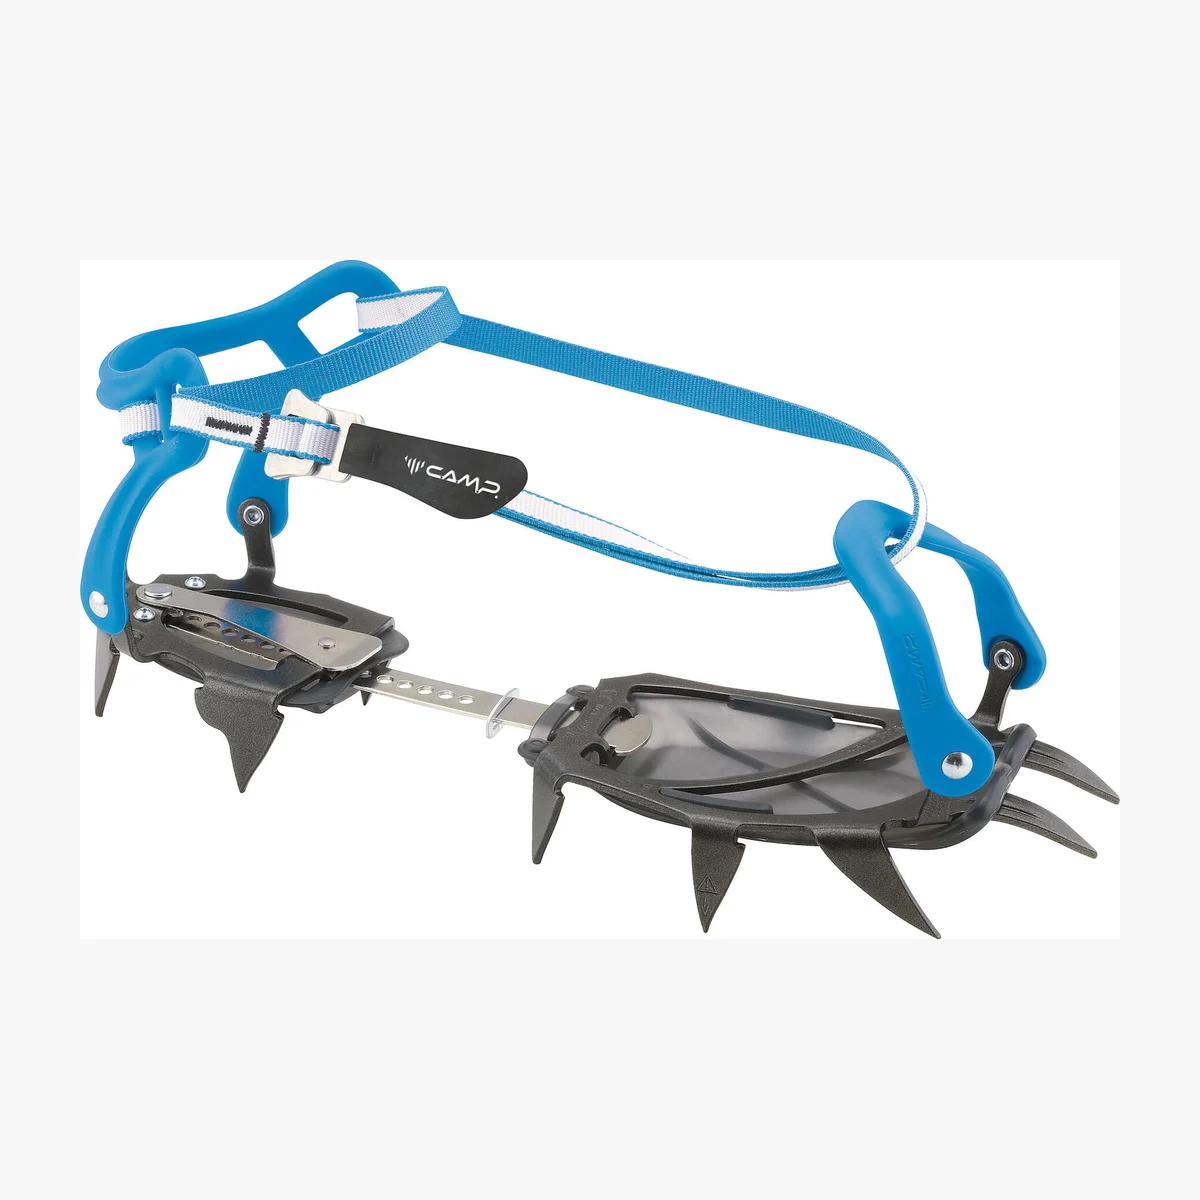
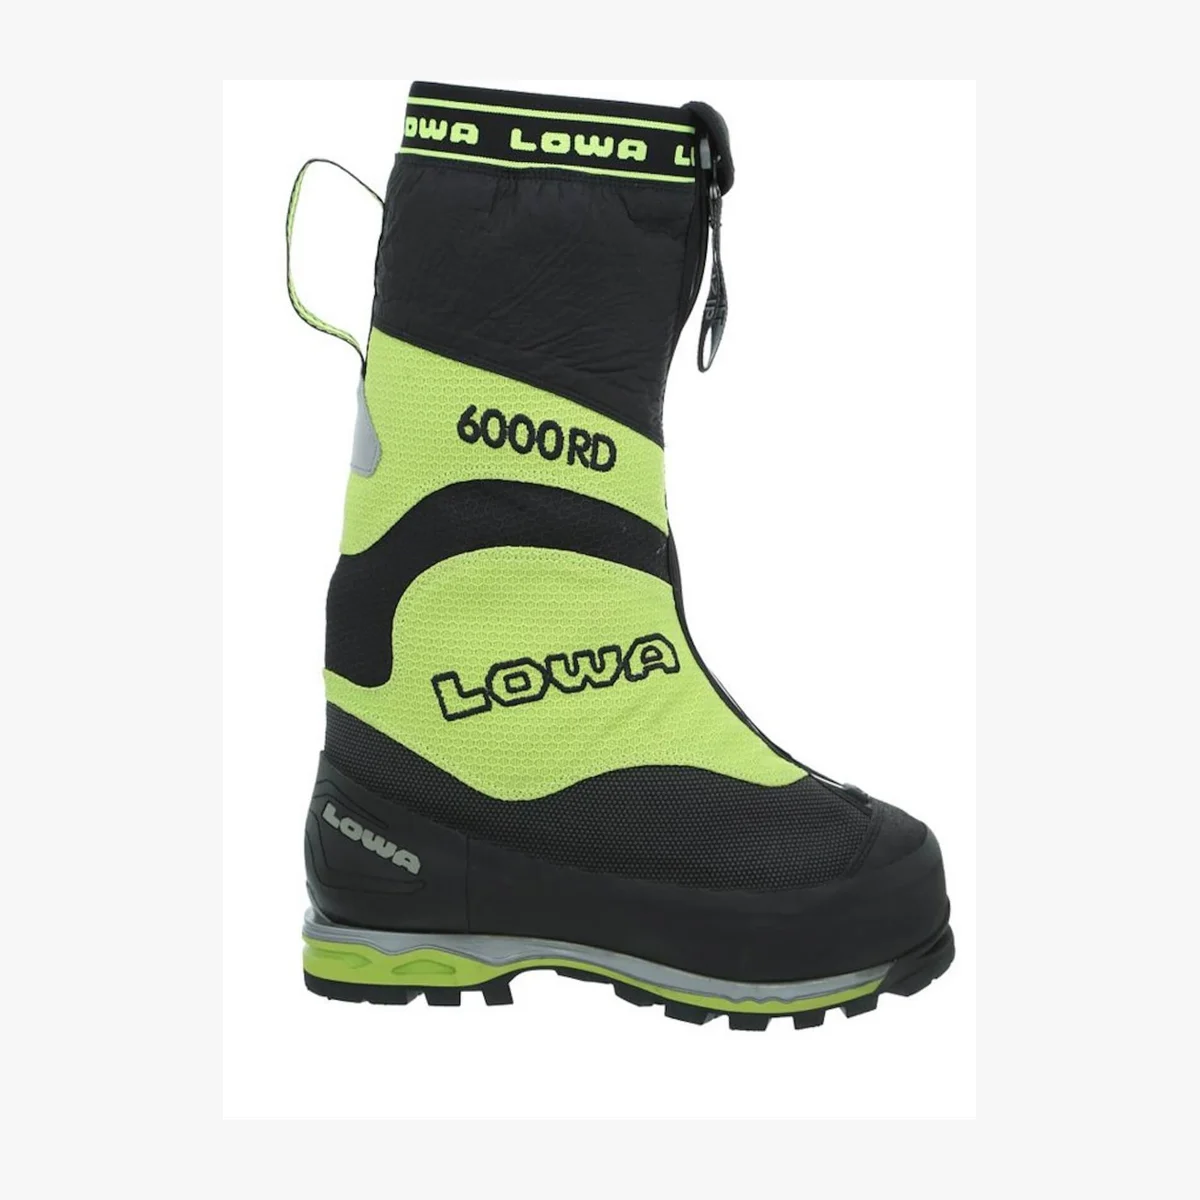
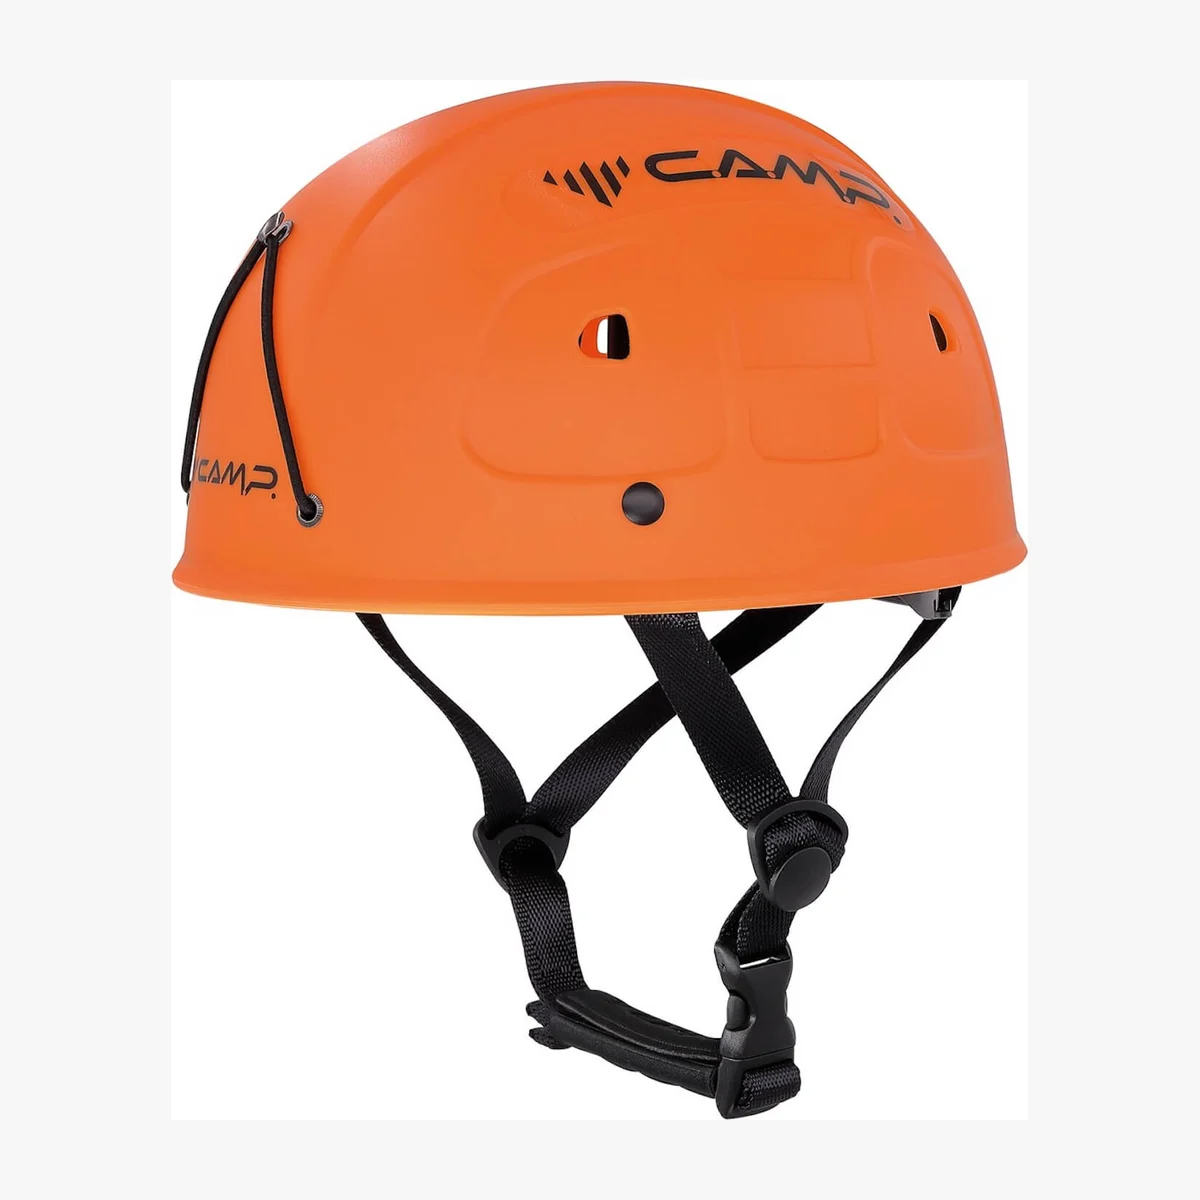
Add it to the calculator, then adjust days and quantity
The calculator uses the same live daily price shown on this page. In winter, one 10% discount applies for four days or more, or for more than four complete sets; discounts do not stack. Summer equipment has no automatic long-rental discount. Availability, fit and the final deposit are confirmed by Rock’N’Rent.
CAMP Neve ice axe questions
Do I need an ice axe to climb Mount Elbrus from the south?
It is commonly required for the summit program, but the guide’s current equipment list and route decision are definitive. Training is essential before use.
How do I reserve this item in Terskol?
Send Rock’N’Rent your dates, number of rental days and any required size on Telegram. We confirm the available item, fit where applicable, final price and deposit before collection in Terskol.
How is the rental price calculated?
The page shows the current price for one item for one calendar rental day in US dollars. In winter, one 10% discount applies for four days or more, or for more than four complete sets; discounts do not stack. There is no automatic long-rental discount on summer equipment. Availability, deposit and final amount are confirmed before collection.