
Equipment Check before Leaving the Rental Shop
Inspect Mount Elbrus rental boots, crampons, clothing, packs and technical equipment before leaving the shop in Terskol.
A rental reservation is not complete until the issued equipment has been fitted, inspected and reconciled with the list. The best place to find a missing strap, unsuitable size or incompatible crampon is the shop in Terskol, not the next morning when the programme is moving.
This checklist covers visible condition and fit. It does not certify technical equipment or replace the guide’s final check, manufacturer instructions or professional training.
Begin with the issue list
Compare the confirmed request with the equipment placed in front of you. Check names, quantities, sizes and rental dates. For a group, keep fitted items assigned to individual participants.
Resolve substitutions before fitting. A different model may require a new compatibility or price check rather than a simple name change.
Fit boots with the real socks
Try both boots with the socks intended for the programme. Check toe room, heel movement and pressure while standing and walking. Close all laces, buckles and power straps and confirm that trousers or gaiters work with the boot.
Persistent pain, numbness or obvious heel lift should be discussed immediately. The detailed boot-fitting guide provides the complete sequence.
Attach crampons to both boots
Fit the actual rental crampons to the actual pair of boots. Inspect front and rear seating, linking-bar adjustment, straps, buckles and anti-balling components. Practise the approved fastening sequence with gloves.
Do not leave with two boxes that have never been tested as one system.
Try clothing as complete layers
Put rental shells and insulation over the personal layers you will use. Close zips and cuffs, adjust the hood and raise the arms. Check trousers with boots and any harness. Make sure pockets remain accessible under a backpack or waist belt.
Inspect fabric, seams, zips and closures. Record existing damage according to the shop’s procedure.
Load and adjust the backpack
Place representative equipment inside the pack. Adjust torso length where applicable, hip belt, shoulder straps and compression. Walk and step up. Check buckles, zips, fabric, attachment points and any rain cover or liner included.
Confirm where important layers, eye protection and spare gloves will be carried.
Check helmet, harness and ice axe
Fit the helmet with planned headwear and goggles. It should remain stable without being forced out of position. Fit the harness over the intended clothing and check adjustment range and buckle configuration with a competent person.
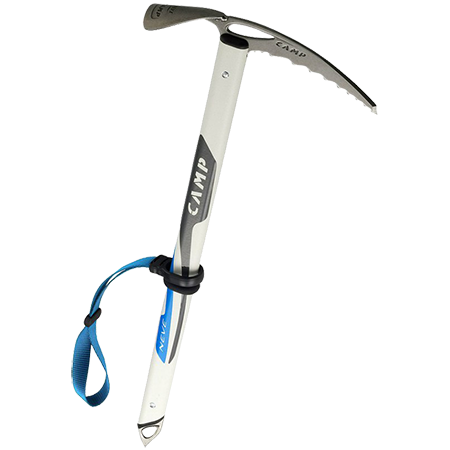
Inspect the ice axe and any approved connectors for visible condition and included components. Suitability and technical configuration remain the guide’s decision.
Test ski or snowboard systems with a technician
Boots and bindings must be set up for the participant. Inspect skis or board, edges, bases, bindings, poles and included accessories. For touring sets, fit the skins and confirm the boot-binding interface.
Do not alter technician settings or exchange boots between participants after setup.
Power on electronic items
Test headlamps, radios or other issued electronics according to the rental team’s instructions. Check controls, power source and included cables or batteries. Confirm transport requirements separately with the airline where relevant.
A functional test does not replace training or a guide-led group check.
Inspect sleeping and camping equipment
Open sleeping bags and check zips, lining and closures. Inflate mats where possible and inspect valves. Count tent, cooking or group components only if the organiser has assigned them to the rental order.
Finish with paperwork and return terms
Confirm the final list, issue condition, deposit, payment, return date and contact method. Keep the shop’s instructions for damage, loss or a delayed return. Photograph or export the checklist if useful for a group reconciliation.
Build the original list with the Elbrus gear calculator and compare it with the organiser’s current equipment checklist. Before the programme begins, the guide performs the final system check.
Leave a Comment