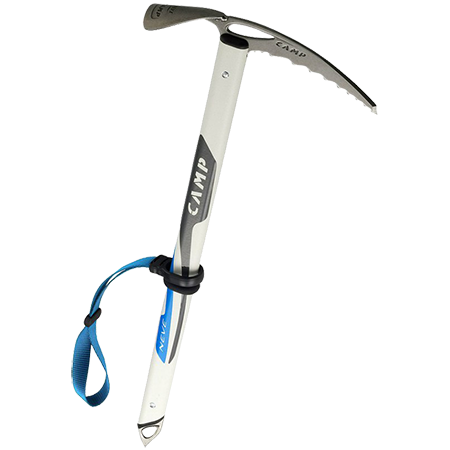

Ice Axe, Harness and Helmet for Mount Elbrus
Understand how an ice axe, climbing harness and helmet fit into a Mount Elbrus rental request and what to check before collection.
An ice axe, climbing harness and helmet may appear together on a Mount Elbrus equipment list, but they do different jobs and cannot be selected as a generic “technical set.” The route, programme, group system, conditions and guide’s methods determine which equipment is required and how it will be used.
This page explains rental fitting and inspection. It is not instruction in technical movement, arrest, rope work or rescue. Those skills require direct guidance and practice with the professional responsible for the programme.
Confirm the exact list before reserving
Ask the organiser which technical items are personal, which are shared and which are supplied. Clarify any required features or configuration. Similar-looking products are not automatically interchangeable, and a shop catalogue does not define the route requirement.
Send the confirmed list with dates and participant sizes through the Mount Elbrus climbing-gear calculator. Availability is checked separately.
Choose an ice axe by the guide’s requirement
Ice axes vary in length, shape and intended use. Do not choose one only by height or by copying another participant. The guide should define the suitable type and explain how it will be carried and used within the programme.
At collection, inspect the shaft, head, pick, adze, spike and any leash or attachment included in the approved system. Look for obvious damage and confirm that protective covers required for transport are present. Do not sharpen or modify rental equipment.
Fit the harness over the intended clothing
A climbing harness must fit the body while worn over the layers expected on the relevant stage. Thick trousers and insulation can change the adjustment significantly. Put the harness on using the manufacturer’s intended configuration and have the fit checked by a competent person.
Check that the waist belt and leg loops have adequate adjustment range, buckles are correctly threaded as designed and nothing is twisted. Move, step up and sit briefly in a safe fitting environment. The harness should remain positioned without concentrated pressure or interference from jacket hems and backpack straps.
Check helmet coverage and compatibility
A helmet should sit level and stable rather than being pushed back by a hat or forward by goggles. Adjust the retention system and chin strap, then shake and turn the head gently. It should remain secure without excessive pressure.
Test the helmet with the planned warm hat, hood, sunglasses, goggles and headlamp. Make sure vents and adjustment controls are not blocked and that the headlamp can be mounted in the approved way.
Do not treat connectors as generic accessories
Carabiners, slings and other components may be included on a programme list, but the required type, quantity and configuration must come from the guide. Do not add random hardware because it appears useful, and do not substitute personal equipment without approval.
Rental connectors should be checked for obvious damage, correct operation and identification. The guide should resolve any question about suitability before use.
Practise under direct supervision
Owning or renting equipment does not create competence. Before the relevant stage, participants should receive the programme’s equipment briefing and practise the required actions under supervision. Ask questions while there is time to change fit or replace a component.
Practise wearing the same gloves and outer layers planned for the mountain. Equipment that is easy to adjust with bare hands may be difficult when cold-weather clothing is added.
Run a paired-system check
Technical items interact with boots, crampons, clothing and the backpack. Test the harness with the jacket and pack, the helmet with all headwear, and the ice axe carrying method with the pack. If crampons are also rented, use the separate boot and crampon compatibility check.
At the end of collection, compare serialised or identifiable rental components with the issue list and confirm the return conditions. The final equipment approval and all operating decisions remain with the guide for the actual route and conditions.
Leave a Comment