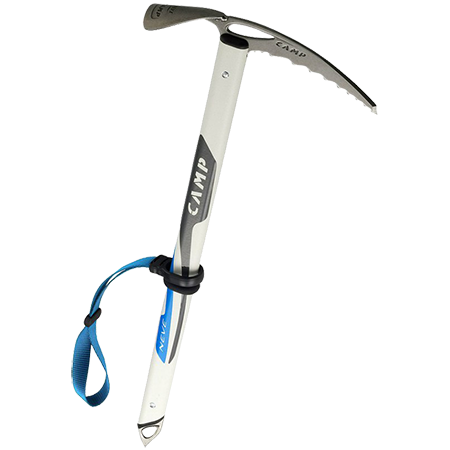

Ski Touring Equipment Rental near Mount Elbrus
Prepare a ski-touring rental request near Mount Elbrus and confirm boot, binding, skin and safety-equipment compatibility in advance.
Ski touring equipment rental near Mount Elbrus should be organised as a compatible system, not as separate skis, boots and skins chosen independently. The route, snow conditions, participant experience and guide’s plan determine the appropriate equipment and safety configuration.
This page explains what information to send and what to inspect. It does not recommend a route, assess avalanche conditions or replace a qualified guide, local forecast and direct training.
Send the complete trip context
Before reserving, tell the rental team the dates, guided programme or planned activity, participant height, weight, normal footwear size and skiing experience requested by the shop. Include any exact equipment requirement supplied by the guide.
Do not describe the request only as “touring skis.” Different systems have different interfaces and intended use, and availability must be checked for the real dates.
Fit touring boots before choosing the rest
Boots should be tried with the socks intended for the day. Check heel control, toe room, pressure points and the walking mechanism. Close the buckles and power strap, switch between permitted modes and confirm that the cuff moves as designed.
Boot fit for touring is not identical to choosing street shoes. Walk in a safe fitting area and allow enough time to identify concentrated pressure before the set is issued.
Confirm boot and binding compatibility
The actual rental boot must be compatible with the actual binding. A similar sole or insert appearance is not sufficient. The rental technician should set up and verify the system for the participant and explain the operating sequence.
Do not alter settings or swap boots after setup without returning to the technician. If another participant uses the set, it requires a new check.
Inspect skis, bindings and brakes or leashes
Check the ski bases, edges, bindings and attachment components for obvious damage. Confirm the retention arrangement specified for the system and the guide’s plan. Ask the technician to demonstrate transitions and identify any controls that must not be adjusted by the renter.
Equipment setup is separate from decisions about where or when to travel. Those depend on professional assessment of the route and conditions.
Fit climbing skins to the exact skis
Skins must match the length and width of the skis and attach correctly at the tip and tail. Fit each one during collection. Check the glue condition, alignment and attachment hardware and learn the approved method for applying, removing and storing them.
Keep the adhesive surfaces clean and follow the rental team’s care instructions. Do not cut or modify rental skins.
Confirm poles and repair items
Adjustable poles should lock securely and have the baskets required by the guide. Inspect the shafts, grips, straps and locking mechanisms. Ask which repair items or spare components are included with the set and which are carried by the guide.
Practise adjustments with gloves. Avoid relying on a component you have never operated before.
Safety equipment requires training and a group plan
A transceiver, probe and shovel may be required, but carrying them is not a substitute for training, partner checks, rescue practice, route planning or professional decisions. Use the models and group procedure specified by the guide.
At collection, verify power, controls and included components. Training and the start-of-day check should follow the guide’s instructions. Do not publish or follow a generic operating sequence from a rental article.
Test the full system before departure
Put on the boots, operate the walk mode, step into the bindings under technician supervision and fit the skins. Adjust poles and backpack and test compatibility with the clothing system. Make sure helmet, goggles, gloves and pack do not interfere with transitions.
Start with the live ski and snowboard rental page in Terskol, then send the guide’s exact touring list through the Elbrus gear calculator. Prices are visible online; suitability and availability are confirmed for the actual request.
Leave a Comment